Testing Procedure
Below is the standard sequence of steps for conducting tests using TestQC Win on Windows-based production systems:
- Launch the TestQC Win application.
- Verify the Device Information (Component List).
- Connect the system to the network (Ethernet or Wi-Fi).
- Perform all functional tests (Keyboard, Display, Audio, Battery, etc.).
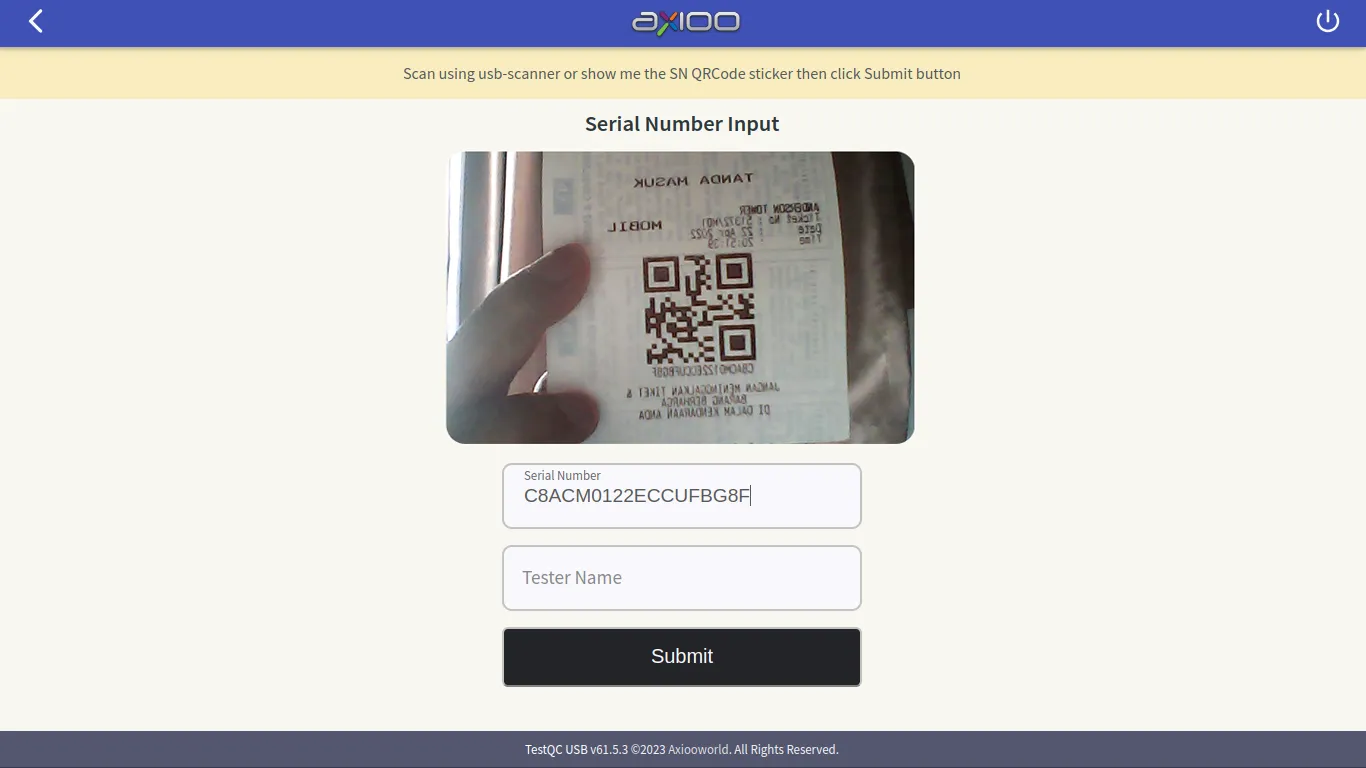
- Scan or manually input the Serial Number (SN ID).
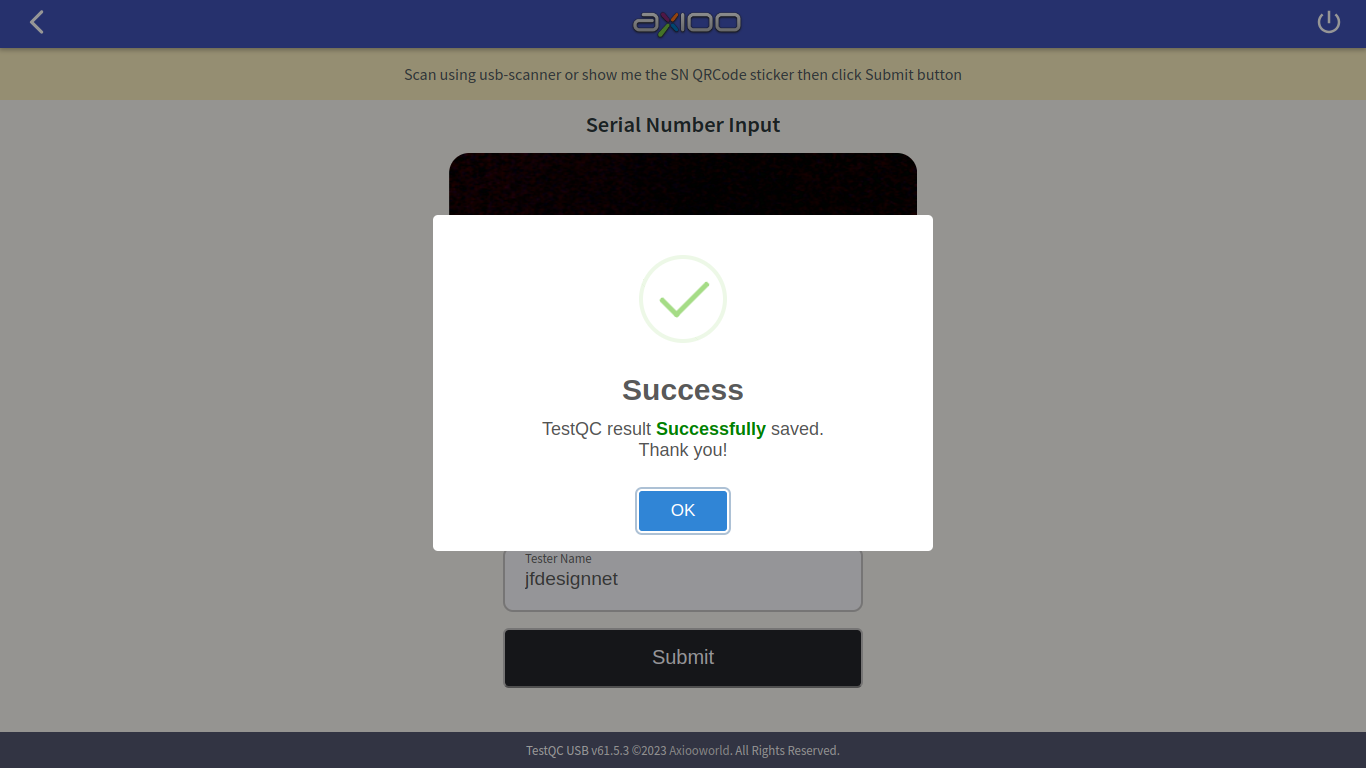
- Submit the Test Report to the server.
- Close the application and shut down the device.
Note for Testers
Before starting, ensure the TestQC server is online and accessible. The workstation should have stable network connectivity and be properly configured with the latest TestQC Win version.
Before starting mass testing on the production line:
- Verify that the TestQC server is online and reachable.
- Ensure the Ethernet or Wi-Fi network is available, and credentials (SSID and password) are known.
- Prepare a quiet environment with sufficient lighting — important for microphone, speaker, and webcam tests.
- Arrange all devices under test (DUTs) and ensure the barcode scanner for serial number scanning is connected.
-
Launch the Application

-
Device Information Overview

-
Network Connection Setup

-
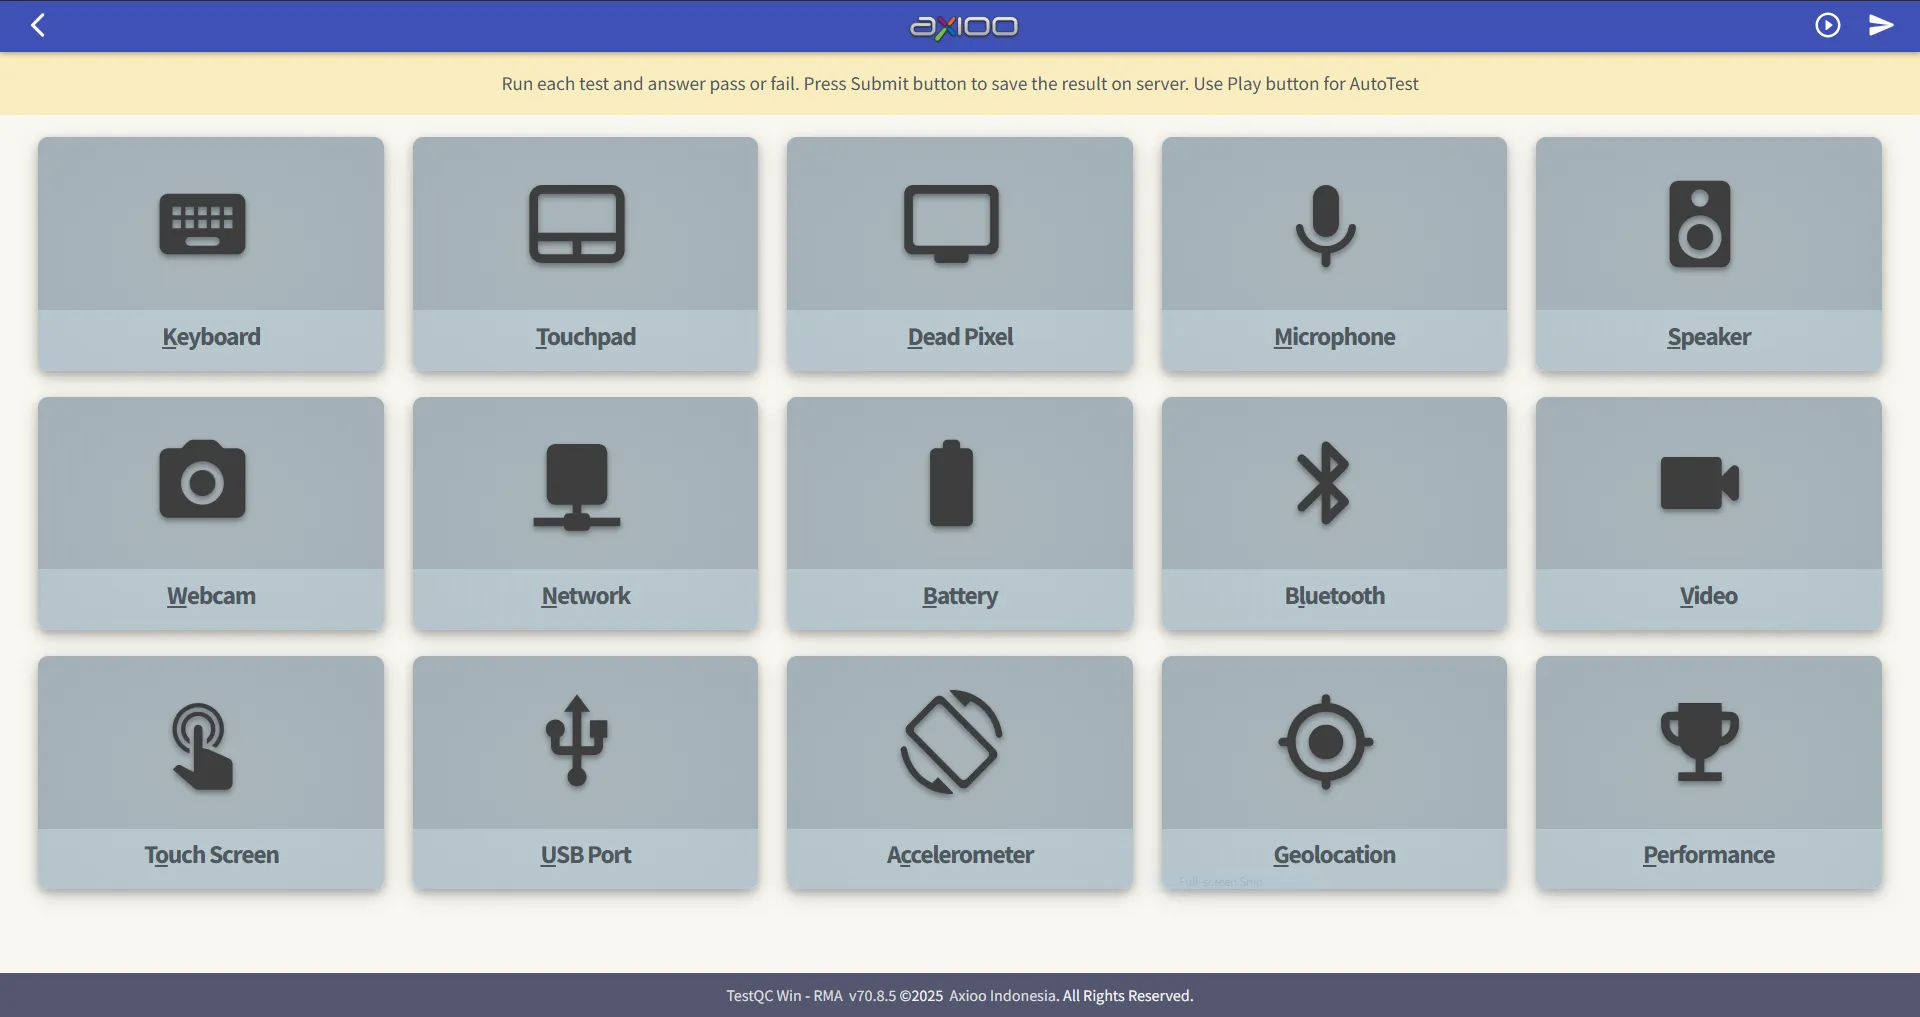
Testing Menu
-
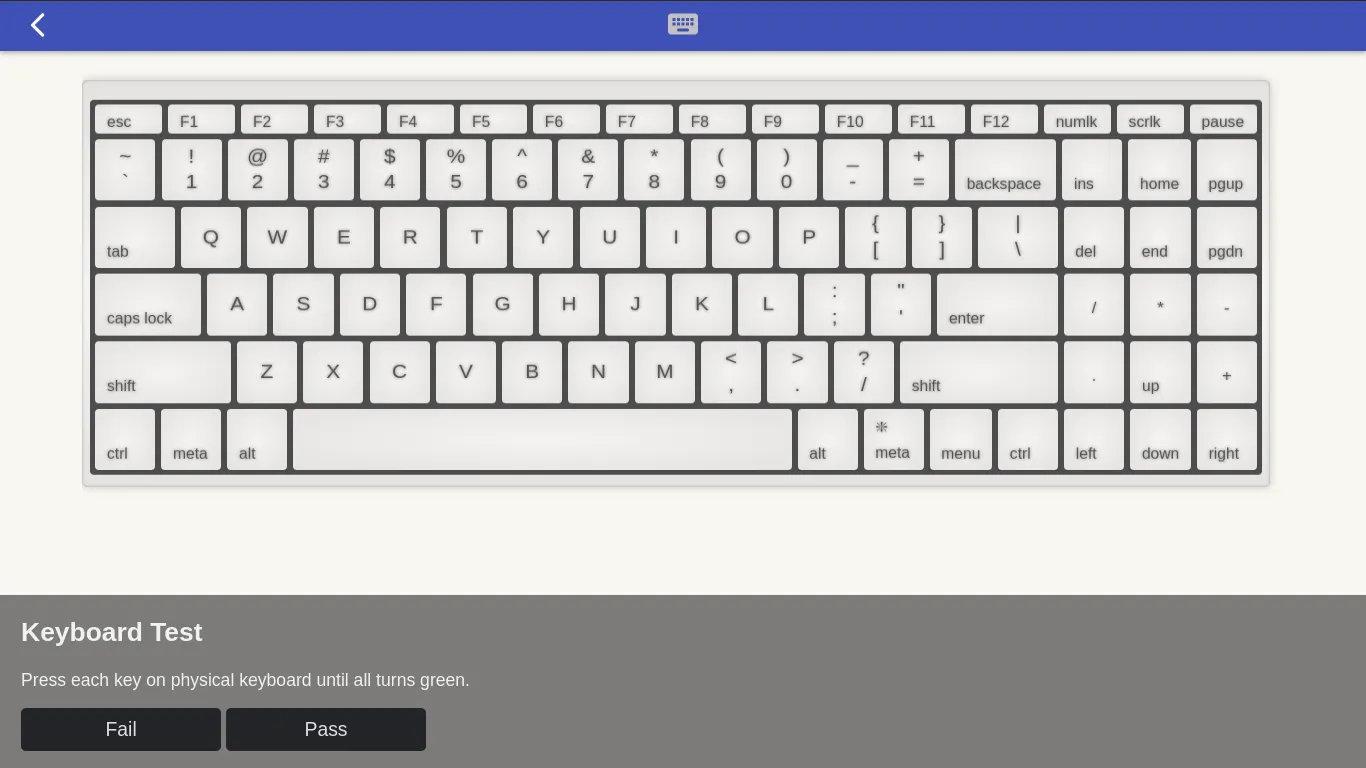
Keyboard Test
-
Touchpad Test

-
Dead Pixel Test

-
Touchscreen Test

-
USB Port Test

-
Microphone Test

-
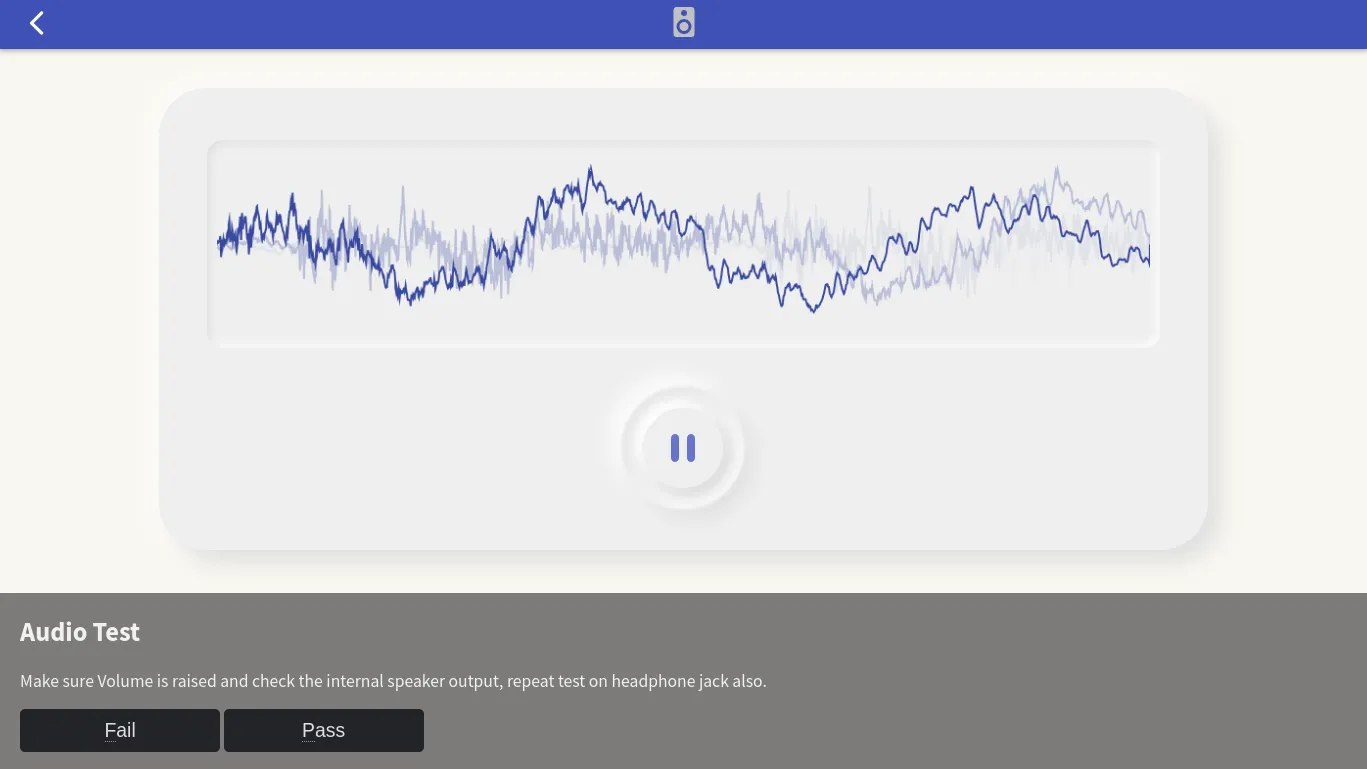
Speaker Test
-
Video Output Test

-
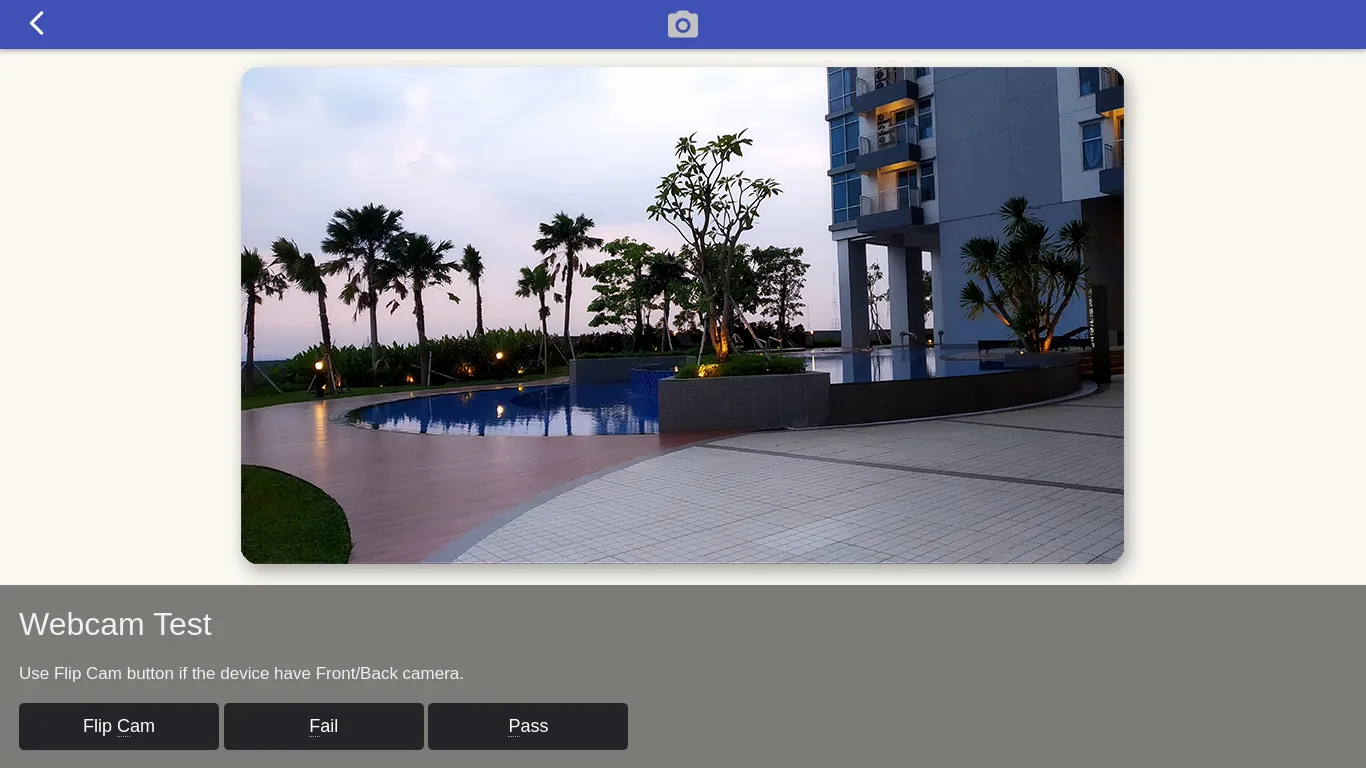
Webcam Test
-
Battery and Charger Test

-
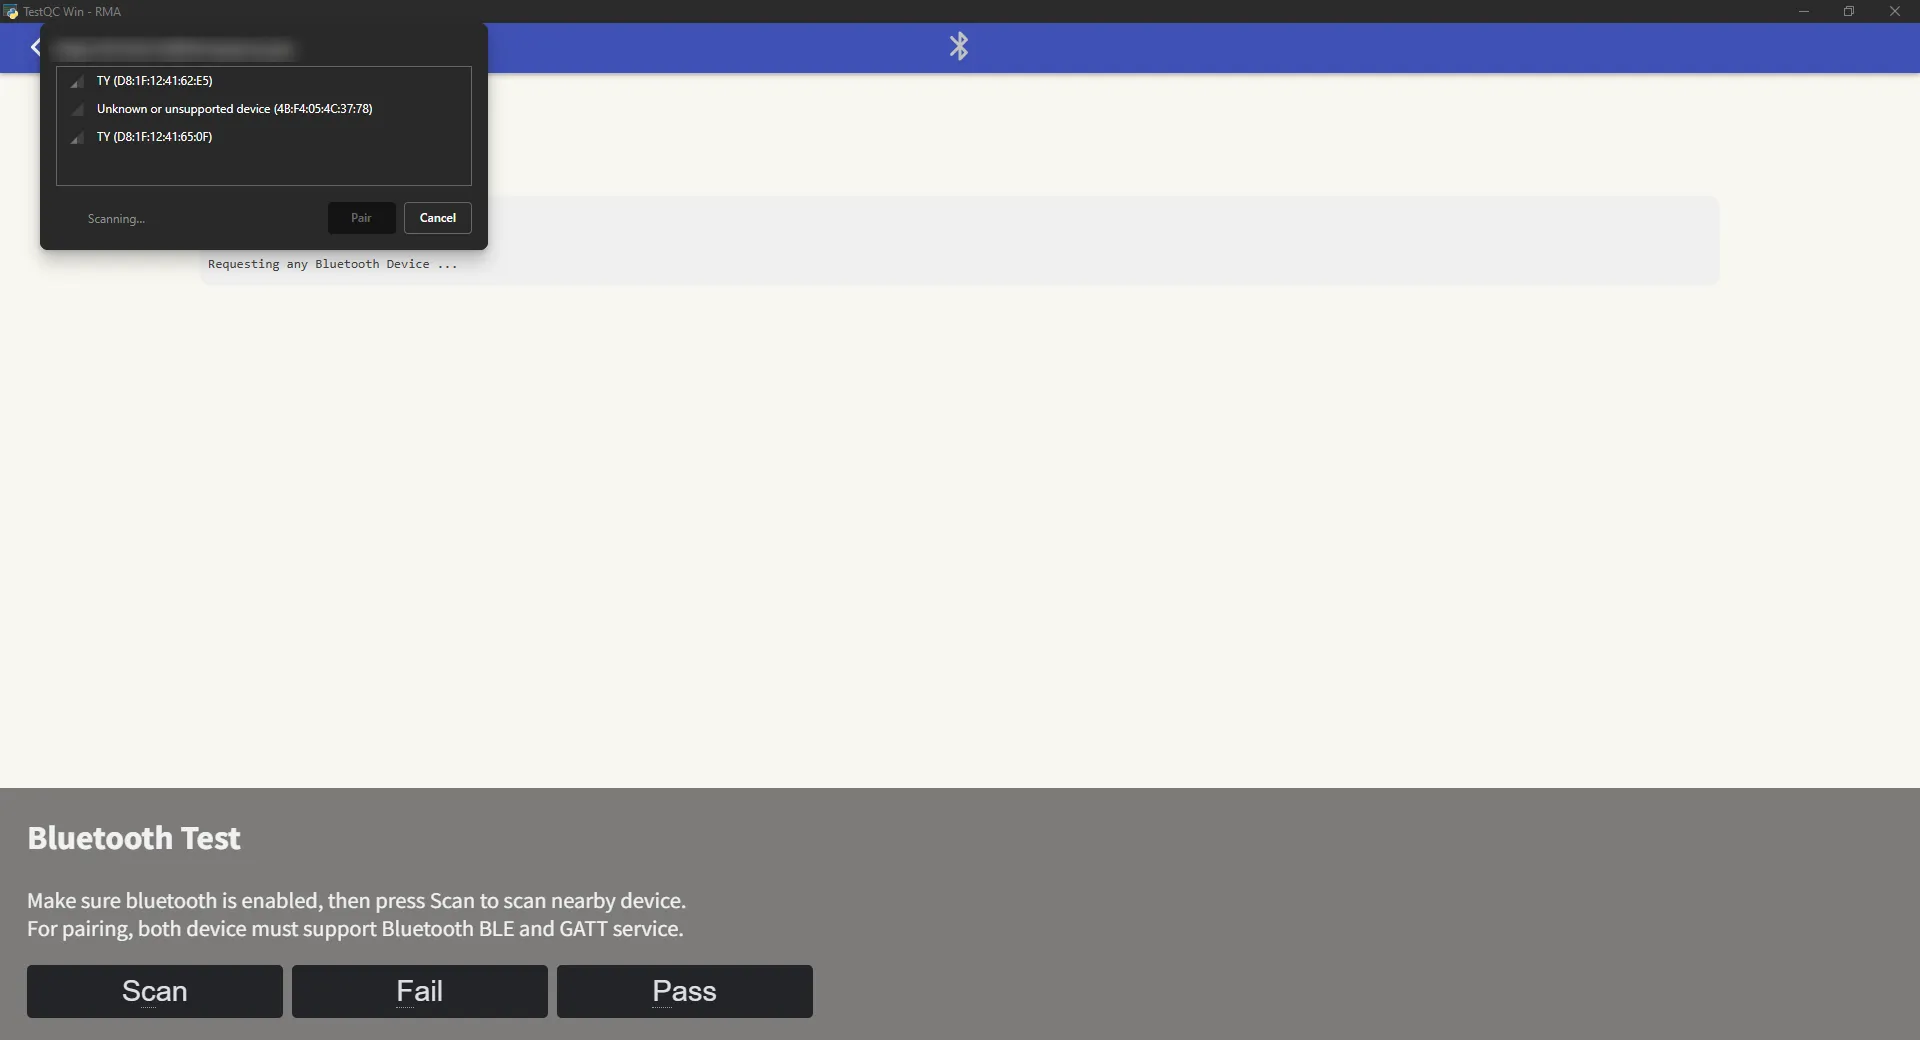
Bluetooth Test
-
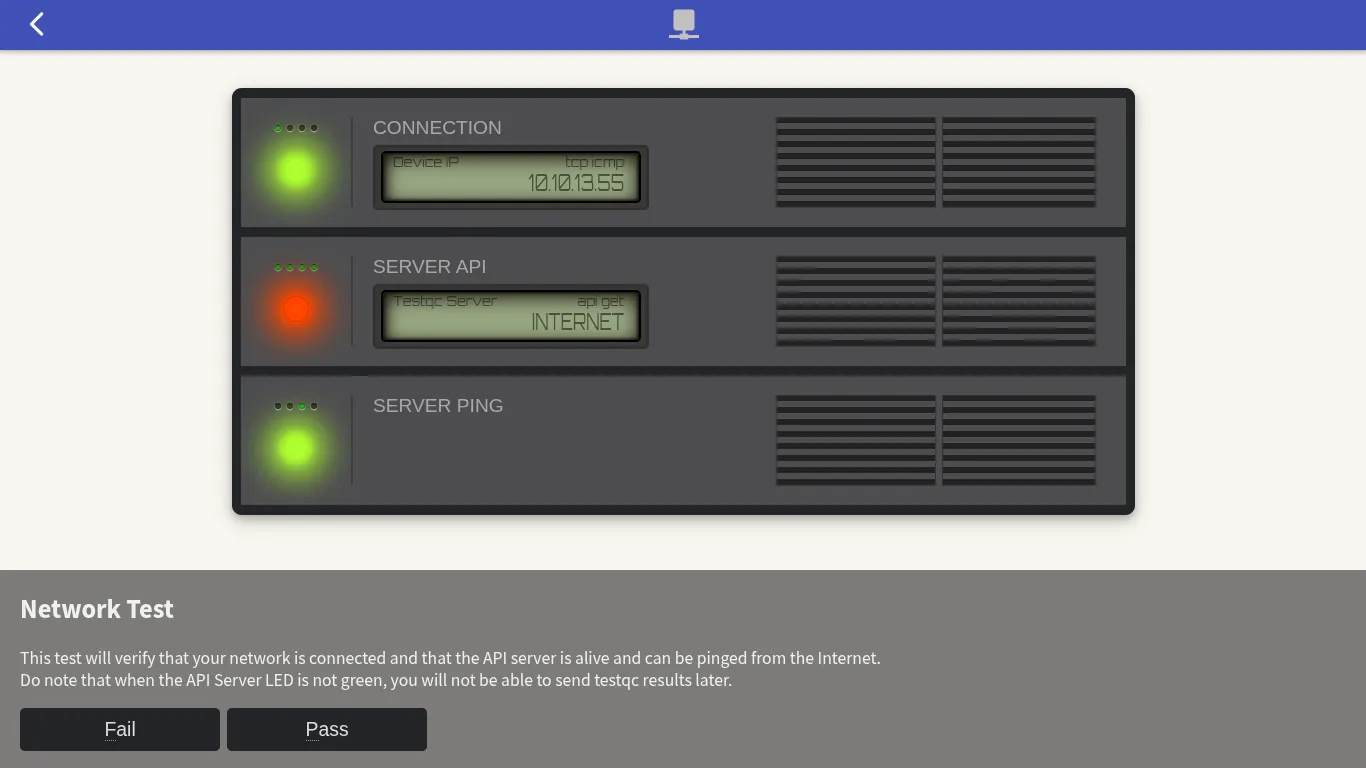
Network Test
-
Accelerometer / Orientation Test

-
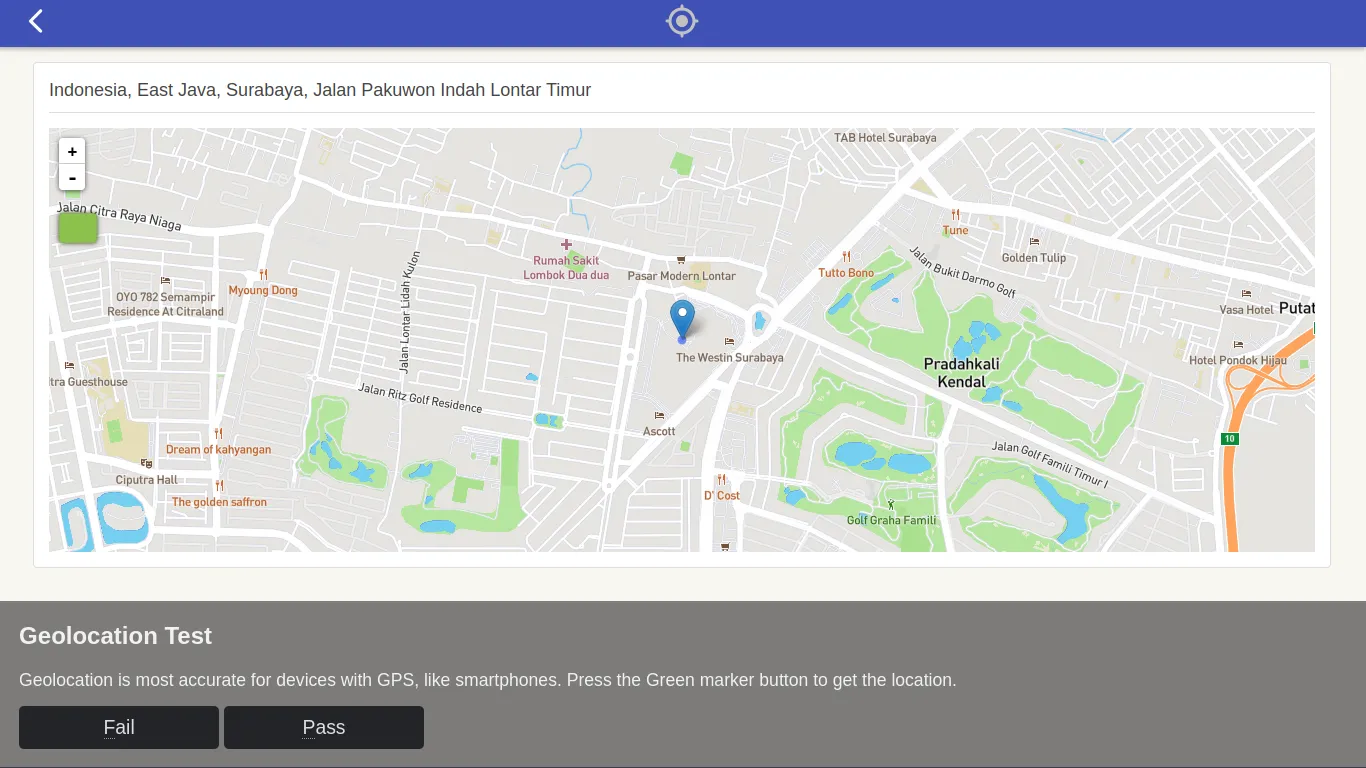
Geolocation Test
-
System Information Overview

-
Submit Test Report
-
Test Completed
After the test sequence completes, shut down the device and proceed to the next DUT.
Tip for Efficient Workflow
It is recommended to prepare multiple devices for testing in parallel. While one device completes network or stress tests, another can begin the input or display tests to save total testing time.